SampleStack Quick Start Guide
Get up and running with SampleStack in 5 minutes.
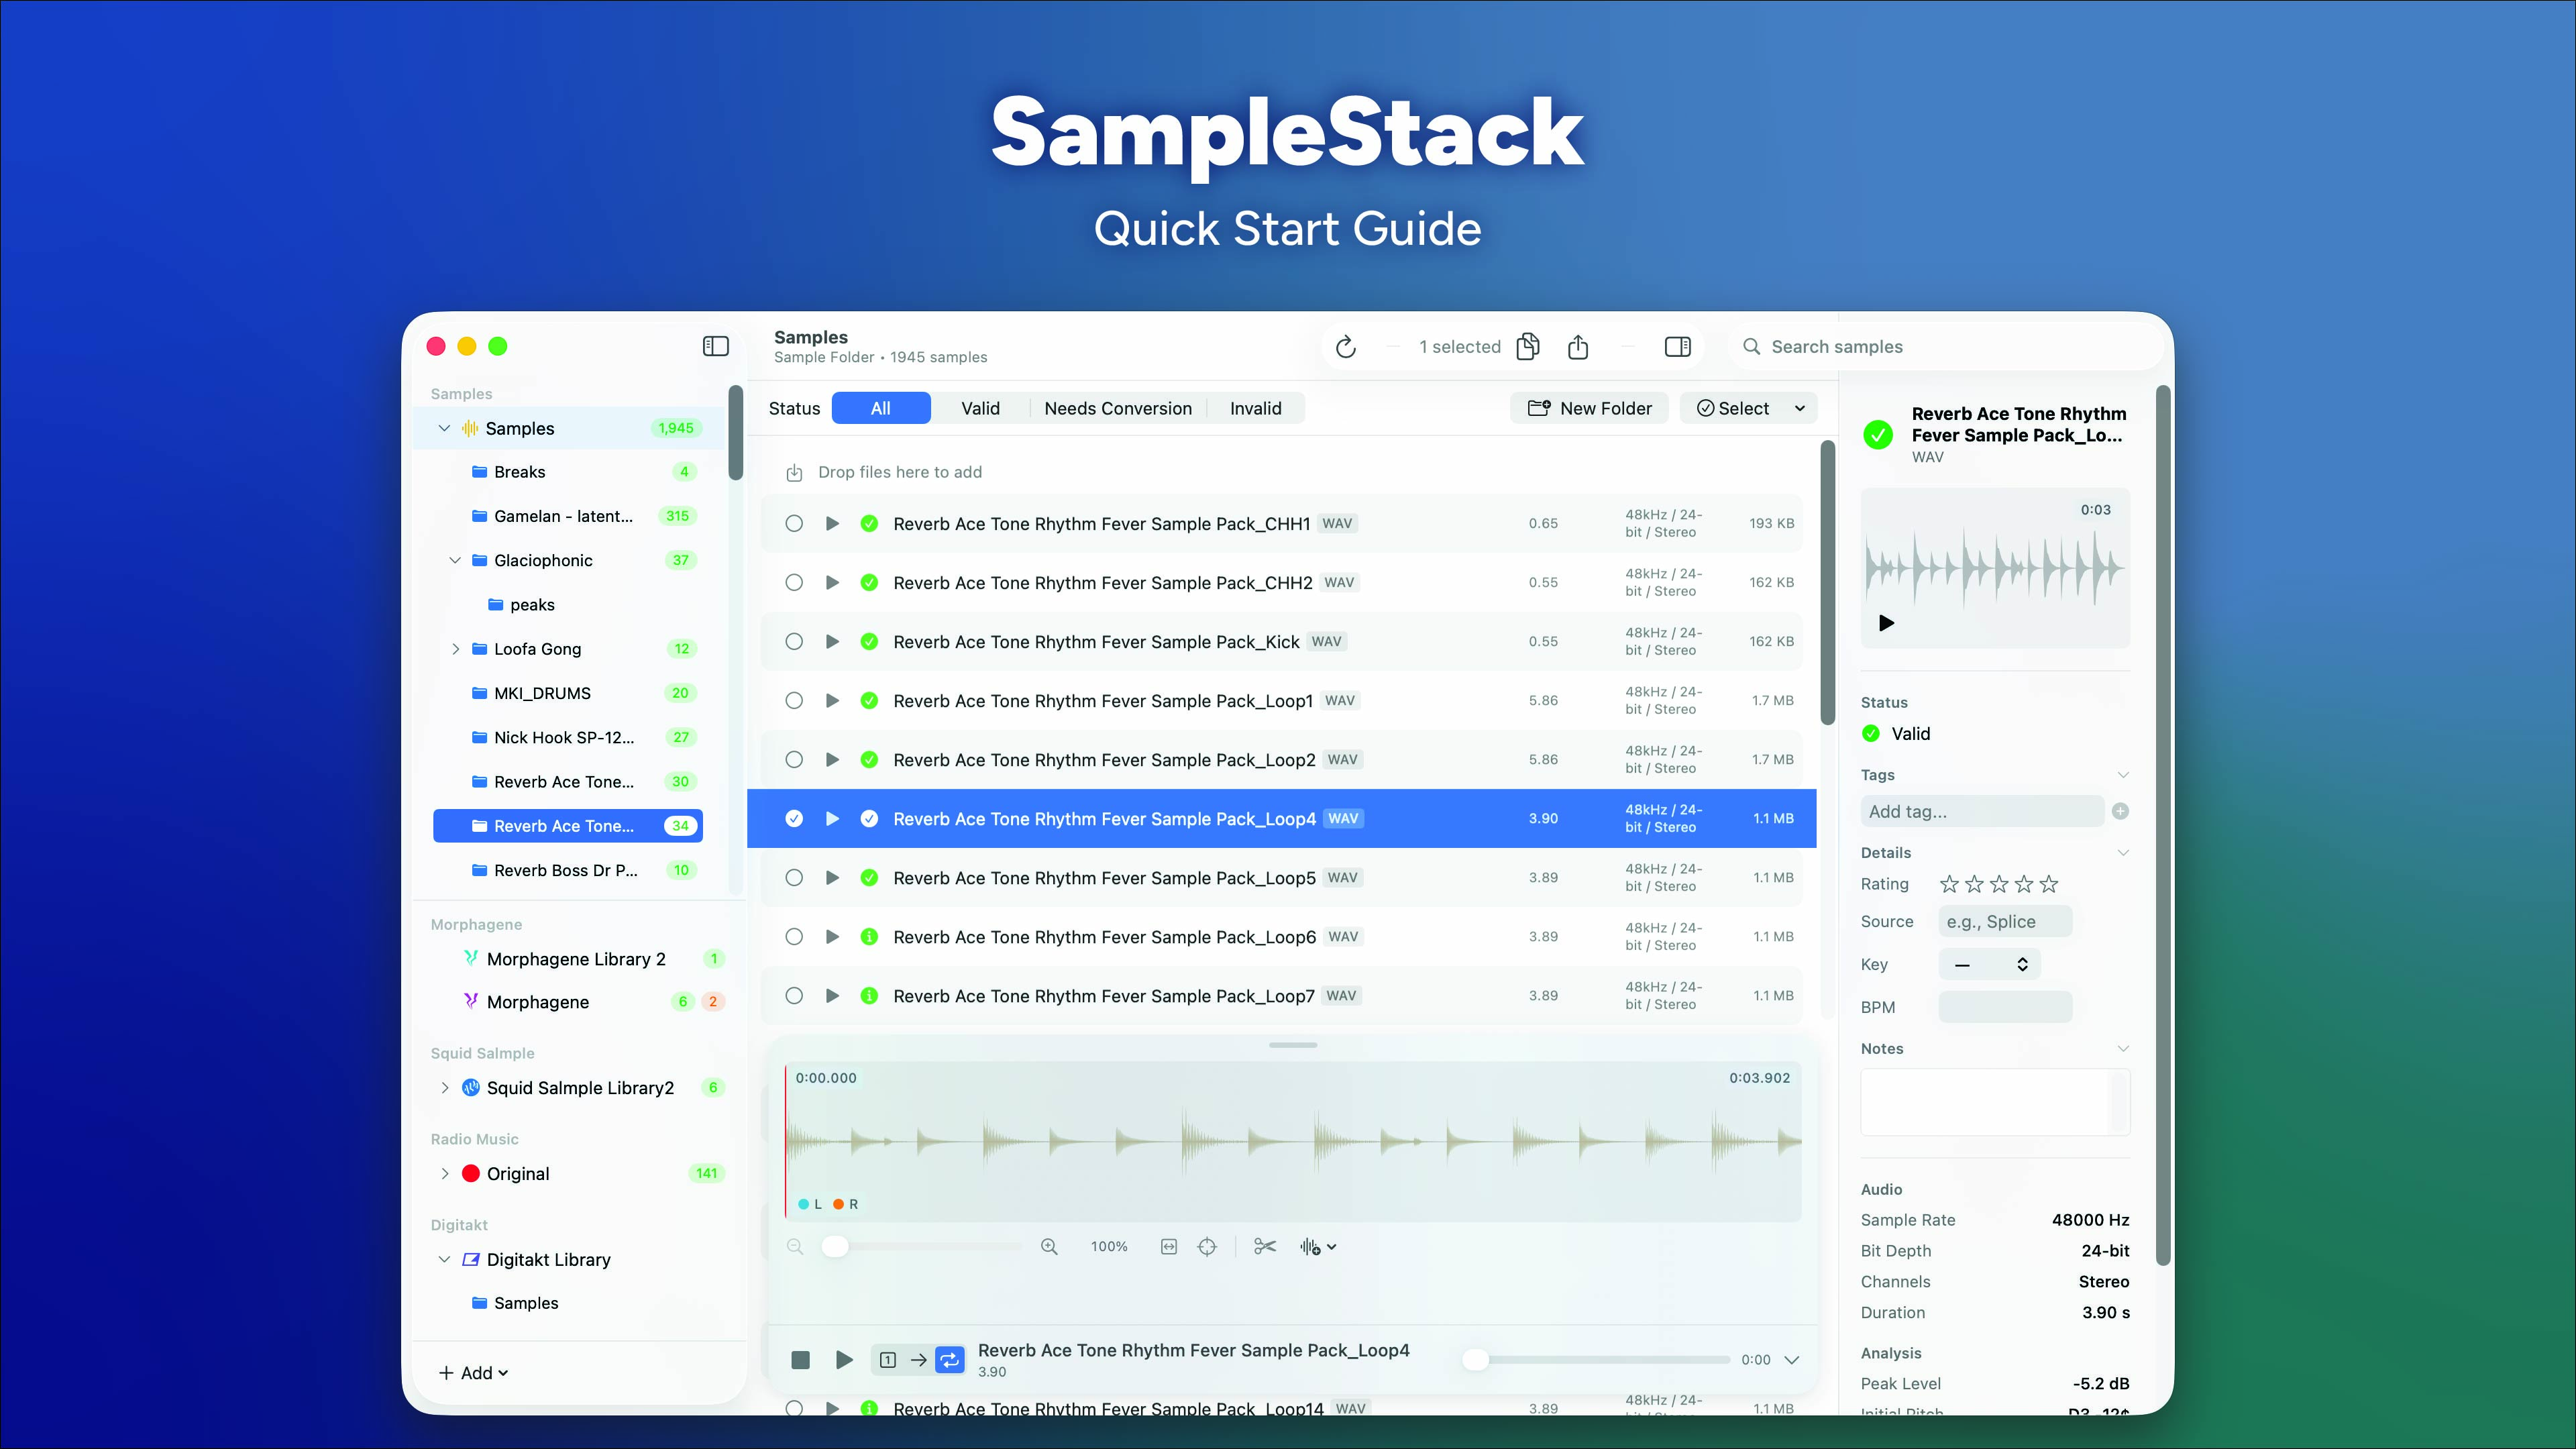
What is SampleStack?
SampleStack helps you manage audio samples for hardware samplers like Morphagene, Digitakt, Octatrack, and more. It validates your samples against hardware requirements, converts incompatible files, and organizes everything for easy SD card export.
Step 1: Add Your Sample Library
Your sample library is your central collection of all samples. SampleStack will help you copy and convert samples from here to your hardware-specific collections.
- Launch SampleStack
- Click File → Add Sample Library (or use the + button in the sidebar)
- Select a folder containing your audio samples
- SampleStack will scan the folder and display your samples
Tip: The first library you add automatically becomes your “Sample Library” (shown with a waveform icon).
Step 2: Create a Hardware Collection
Collections are organized for specific hardware. SampleStack knows the requirements for each device.
- Click File → New Collection
- Select your hardware from the dropdown (Multigrain, Morphagene, Digitakt, etc.)
- Choose how many folders to create (projects, banks, stations)
- Pick a location on your SD card or local drive
- Click Create
SampleStack creates the correct folder structure automatically.
Step 3: Copy Samples to Your Collection
- In the sidebar, click your Sample Library
- Browse or search for samples you want to use
- Select samples (Cmd+click for multiple, Shift+click for range)
- Either:
- Drag samples onto your collection in the sidebar, or
- Click the Copy to Library toolbar button
- Choose options:
- Convert incompatible samples: Automatically adjusts sample rate, bit depth, channels
- Truncate long samples: Trims samples that exceed hardware limits
- Click Copy
Step 4: Preview and Edit Samples
Quick Preview
- Double-click any sample to play it from the beginning
- Spacebar plays/pauses the selected sample
- Double-click folders to expand/collapse them
Expanded Player
- Click the expand button (arrow icon) in the floating player
- View the full stereo waveform with zoom controls
- Add cue points by Option+clicking on the waveform
- Use the Edit menu (scissors icon) for advanced editing:
- Split, crop, or cut audio regions
- Auto-detect transients for cue points
- Use the Fade menu to apply fades to selected regions
Non-Destructive Editing
All audio edits (crop, cut, split, fade) work on a temporary copy:
- Preview changes immediately in the waveform and player
- Click Save to write changes to the original file
- Click Discard to revert to the original
Understanding Validation Colors
- Green badge: Sample is compatible with your hardware
- Orange badge: Sample needs conversion (wrong format, but fixable)
- Red badge: Sample has issues (wrong filename, unsupported format)
Step 5: Export to SD Card
Once your collection is organized:
- Eject any mounted SD cards
- Insert your hardware’s SD card
- If you created your collection directly on the SD card, you’re done!
- Otherwise, copy the collection folder to your SD card
Keyboard Shortcuts
| Action | Shortcut |
|---|---|
| Play/Pause | Spacebar |
| Play from beginning | Double-click sample |
| Navigate samples | Arrow keys |
| Expand/Collapse folder | Right/Left arrows or Double-click |
| Rename | Return or Right-click → Rename |
| Zoom waveform in | = |
| Zoom waveform out | - |
| Add cue point | Option+click on waveform |
| Undo | Cmd+Z |
| Redo | Cmd+Shift+Z |
Tips
- Organize with tags: Right-click samples to add tags, then use the Tags section in the sidebar to filter
- Rate your favorites: Use the star rating in the inspector to mark your best samples
- Ignore system files: Right-click and choose “Ignore” to hide metadata files like .DS_Store
- Customize colors: Right-click a collection and choose “Set Color” to personalize your sidebar
Need Help?
- Check the full User Manual for detailed feature explanations